

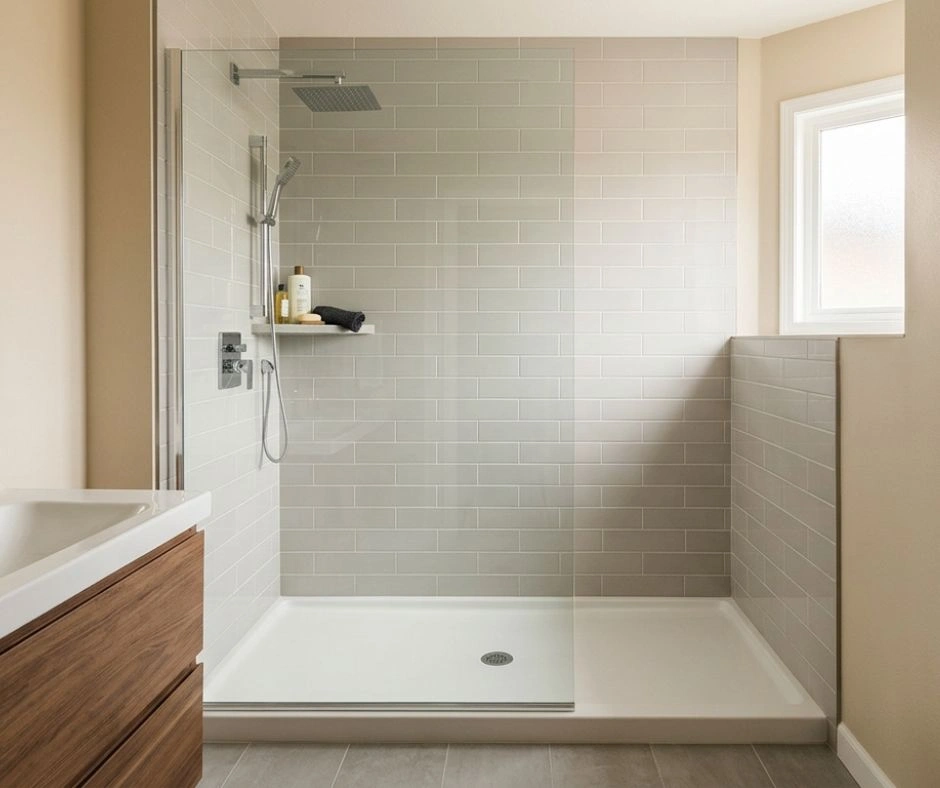
Water dripping where it shouldn't. A loose overflow cap that's been bothering you for months. That nagging feeling your 5-year-old home's bathroom could be so much better if you just converted that tub into a walk-in shower. Sound familiar?
We recently helped a local homeowner tackle exactly this situation during a comprehensive plumbing inspection. What started as a simple leak repair conversation turned into planning a complete tub-to-shower conversion – and it reminded us how many homeowners are dealing with similar bathroom challenges. Whether you're battling accessibility issues, tired of cleaning around a tub you never use, or simply want to modernize your space, understanding your options can save you time, money, and frustration.
The good news? Converting a tub to a shower is more straightforward than most people think, especially when you work with an experienced plumbing service that understands the ins and outs of Massachusetts homes.
What You Need to Know About Tub-to-Shower Conversions
Before diving into demolition dreams, let's talk reality. That overflow cap leak we mentioned? It's incredibly common and usually stems from improper installation. During our recent inspection, we discovered the overflow vent cap was facing upward instead of downward – basically creating a funnel for water to seep behind your walls instead of directing it away. The cap was also loose, which compounds the problem.
Here's what many homeowners don't realize: these "small" leaks often indicate it's time for a bigger conversation about your bathroom's functionality. If you're already dealing with repairs, it might make sense to address larger accessibility or design concerns at the same time. Think of it like changing your oil – sometimes you discover it's actually time for a tune-up.
The structural reality of most homes built in the last decade works in your favor for conversions. Modern construction typically mounts tub units directly to studs, which makes removal and replacement more predictable than in older homes where you might encounter surprises behind the walls.
Common Scenarios We See in Local Bathrooms
The "Never-Used Tub" Situation
We can't tell you how many customers tell us they haven't taken a bath in years. You're not alone if your tub has become an expensive place to store shampoo bottles. Converting to a shower reclaims that space and often makes daily routines more efficient. Plus, if you're thinking about resale value, most buyers today prefer updated showers over standard tubs in secondary bathrooms.
The Accessibility Challenge
High tub walls become barriers as we age or if family members have mobility concerns. A walk-in shower with proper planning can include grab bars, built-in benches, or fold-down seating. We've seen homeowners put off these conversations for years, then wish they'd made the change sooner once they experience the difference.
The Leak-Turned-Opportunity
Sometimes a repair becomes the perfect excuse for an upgrade. When you're already opening walls to fixplumbing issues, the additional cost to convert becomes much more reasonable. It's like getting a kitchen renovation discount because you're already replacing the flooring – the timing just makes sense.
How to Approach Your Conversion Project
Step 1: Assess Your Current Setup
Most standard tubs occupy a 60-inch by 30-32 inch footprint. This is actually ideal for shower conversions because replacement units are designed to fit these exact dimensions. During our inspection process, we measure everything twice and check that walls are plumb – this determines whether you can use sliding doors or need to stick with a curtain rod setup.
Step 2: Choose Your Materials Wisely
Here's some insider knowledge: in existing homes, one-piece shower units usually won't fit through doorways. You'll need a multi-piece system, typically four pieces including the base and wall panels. We strongly recommend fiberglass over acrylic, even though acrylic costs about half as much. Why? Fiberglass units have mechanical locking teeth and channels that create structural integrity beyond just caulking. Acrylic tends to flex and relies heavily on caulk to stay watertight – not ideal for long-term durability.
Step 3: Plan the Installation Process
Removal typically takes 2-3 hours and involves opening the finish about 6 inches around the perimeter to access the nailers holding the unit to studs. Installation takes similar time plus leveling, plumbing connections, and testing. Most projects run 8-10 hours total, depending on complications. Your existing valve can usually be reused, which saves money, but remember that drywall patching, painting, and final caulking might require additional coordination with other contractors.
Step 4: Consider Your Options
Door choices depend on your space and walls. If everything is plumb and square, sliding doors look clean and modern. If not, a quality curtain rod system works perfectly and costs less. For seating, you can choose built-in benches (permanent but sleek), fold-down options (space-saving), or custom tile benches if you're going with a tile base instead of fiberglass.
Pro Tips from the Field
Timing Matters
If you're dealing with any existing leaks, address the conversion sooner rather than later. Water Damage doesn't improve with time, and what starts as a simple overflow cap issue can become a much more expensive wall repair if ignored.
Think Beyond the Obvious
During planning, consider your daily routines. Do you need multiple shower heads? What about storage niches for toiletries? These decisions are much easier (and cheaper) to make before installation than after. We've seen too many homeowners realize they want a bench or grab bars after the project is complete.
Don't Forget the Details
The difference between a good conversion and a great one often comes down to finishing touches. Quality caulking, proper drainage slope, and attention to tile or panel alignment make your investment look professional for years to come. Cutting corners on these details usually means redoing work later.
Ready to Transform Your Bathroom?
Converting your tub to a shower doesn't have to be overwhelming when you work with experienced professionals who understand both the plumbing and construction aspects of the job. At Jeneral Plumbing, we've helped countless homeowners throughout Middlesex and Essex counties turn problematic tubs into functional, accessible showers.
Whether you're dealing with a leak that needs immediate attention or simply ready to modernize your space, we're here to walk you through every step of the process. Our family-owned business takes pride in honest assessments, quality workmanship, and helping you make decisions that make sense for your home and budget.
Ready to explore your options? Give us a call for a comprehensive inspection and consultation. We'll assess your current situation, discuss your goals, and provide a clear plan for moving forward. Because the best plumbing service isn't just about fixing what's broken – it's about improving how your home works for you.
Need Help? Contact Jeneral Plumbing at (978) 392-7789 or visit jeneral-plumbing.com