

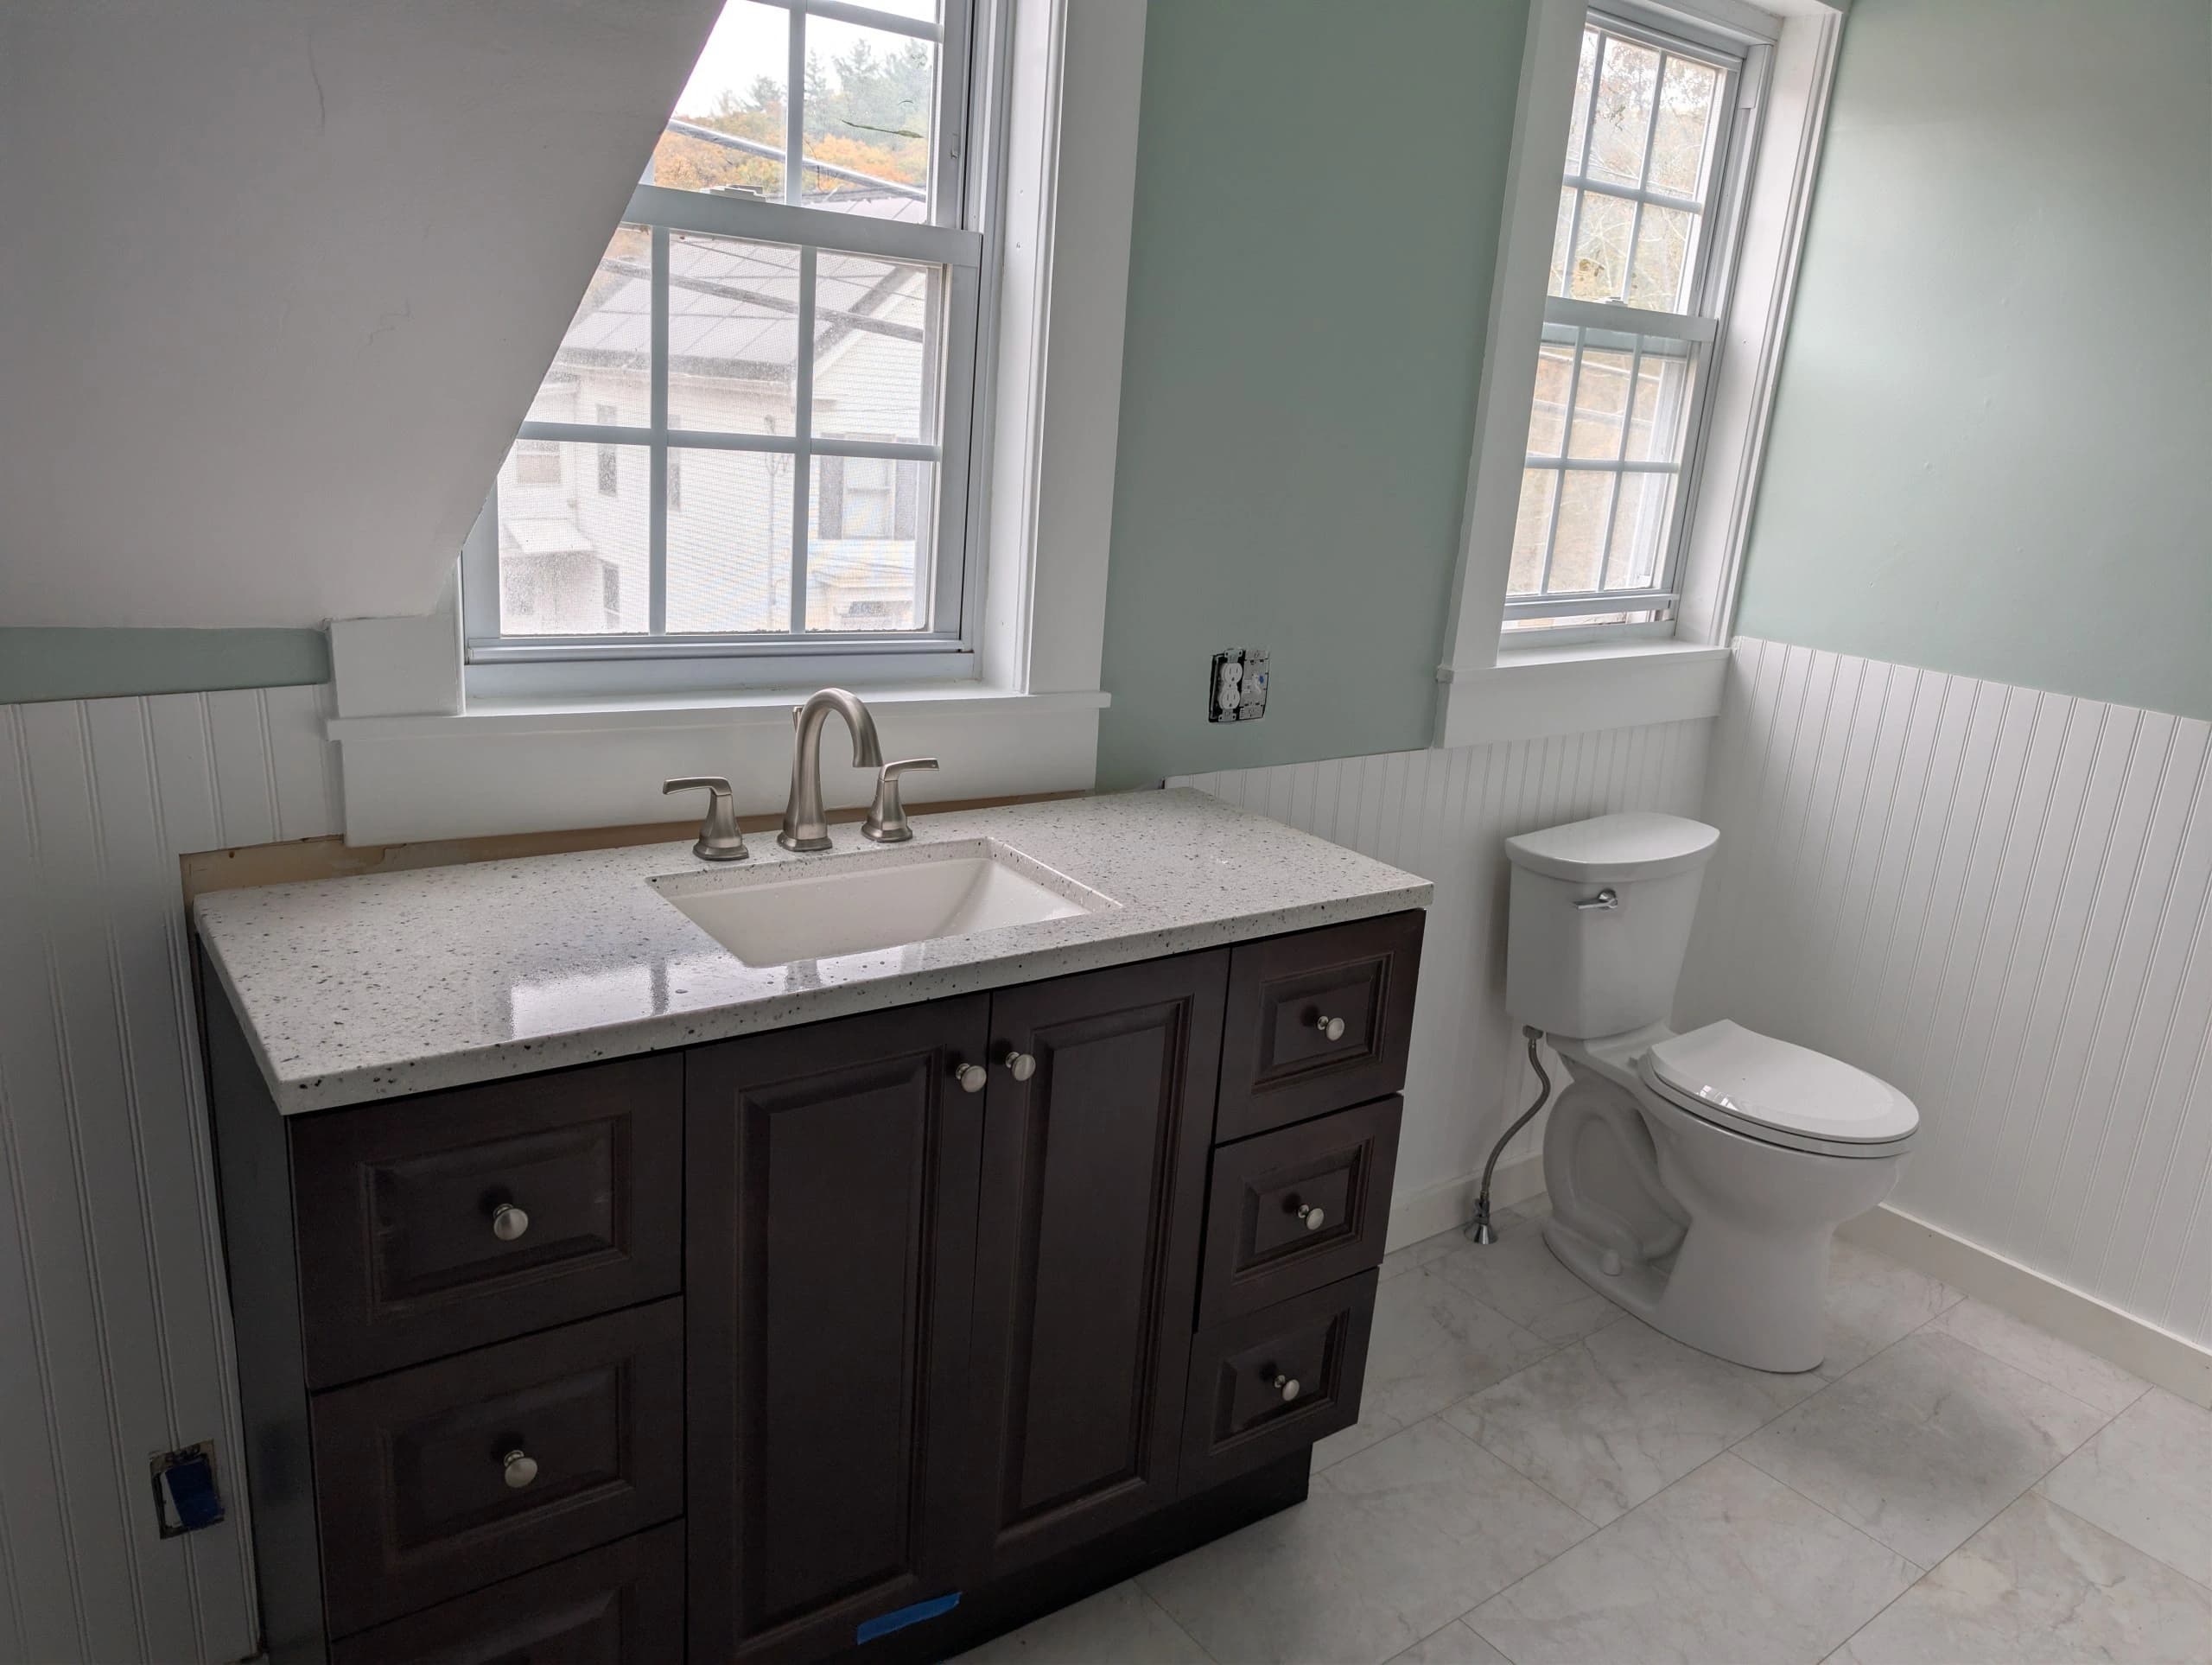
You've picked the tile and the vanity, and the contractor wants to know when the plumber can start. Before anyone opens a wall, a few bathroom plumbing decisions deserve to be settled, because they're the expensive ones to change later: what the plumber is booked to do, where drains and vents can run, which fixtures go in, what the inspector will check and what's in writing. Here are the five, drawn partly from a recent remodel visit.
1. Know which visit you're booking
On that visit, we arrived for what the homeowner thought was a consultation, but they needed the rough plumbing finished by Saturday to hold their contractor's schedule. Nobody had done anything wrong. Everyone was using different words for different jobs.
A bathroom remodel has three plumbing phases:
- Planning: layout, pipe routes and fixture choices, before demolition.
- Rough-in: supply, drain and vent piping behind the walls and floor, tested and inspected before anything is covered.
- Trim-out: faucets, toilet, shower trim and other fixtures, installed after tile and paint.
Tell your plumber which phase you need and what your deadline is. If the tile contractor is booked for a Monday, the rough inspection has to pass before then. One plain question prevents a lot of stress: "Will the rough plumbing be inspected and signed off before my tile contractor arrives?"
2. Plan around drains, vents and framing first
Where you'd like the toilet and sink is half the question. Every fixture needs a drain and a vent, and a toilet typically ties into a 3-inch drain. Those routes have to fit through the framing you already have.
On the same project, new piping had to tie into the existing vent lines while working around load-bearing walls. The homeowner wanted fixtures on different walls, but drilling through certain load-bearing areas would have weakened the structure. We recommended putting the toilet and a pedestal sink on one wall instead. That protected the framing and opened up floor space.
In an older home, the whole bathroom may drain into a single cast-iron stack. Tying a relocated shower into that stack, or replacing a corroded section while the wall is open, is a decision for the planning table, not the middle of demolition. Sometimes moving a toilet a few inches is the difference between a routine rough-in and structural work. Where a joist or beam has to be modified, that call belongs to the building professional responsible for the structure. For bigger changes, our plumbing system design service for renovations settles fixture locations, pipe routes and trade sequencing before framing closes off options.
3. Pick fixtures before rough-in, not after
The fixture you choose decides where the pipes land. A shower system's valve body, a wall-hung sink's carrier and a toilet's rough-in distance (usually 12 inches, with 10- and 14-inch models for some older homes) all need to be known before the walls close. Choosing late means limiting your options or opening walls again.
The vanity works the same way. If you're replacing bathroom faucet hardware during a remodel, choose it before the vanity top is set, because the top's holes have to match the faucet, whether it's a single-hole, centerset or widespread model. That's also the easiest time to replace old shutoff valves under the sink. Valves that haven't been turned in years can seize or start leaking when someone finally uses them.
We install compatible Kohler and Moen faucets, toilets and shower and tub fixtures, and we're glad to help you choose. The model matters more than the logo: mounting dimensions, valve compatibility, clearances and access decide whether it fits. You can supply your own fixtures or have us source them. Our Kohler and Moen fixture installation service explains both paths. If an existing faucet or toilet is still serviceable, fixture repair may belong in the plan instead of a new unit.
4. Let the code and the inspector shape the layout
Massachusetts has its own plumbing code, 248 CMR 10.00. It sets minimum clearances around toilets and between fixtures, along with drain sizing, pitch and venting. A layout that misses a clearance by an inch doesn't pass, and your local inspector's reading governs, so we confirm the dimensions for your room rather than assume them.
Shower valves deserve early attention. Showers and tub-showers are normally fitted with a pressure-balancing or thermostatic mixing valve to guard against sudden temperature swings. The valve body goes into the wall at rough-in and has to match the finished wall depth, so the tile and backer thickness need to be known by then.
Massachusetts issues plumbing permits to licensed plumbers under 248 CMR 3.00, so the plumber doing the work pulls the permit, not you. A plumber who asks the homeowner to pull it is telling you something. In Chelmsford, as in other Massachusetts towns, the permit is filed with the town before work starts. The rough inspection comes before any piping is covered, and the final inspection comes after fixtures are set and working. Build both into the schedule. The rough sign-off is the gate your tile, drywall and paint all wait behind.
5. Get the scope and options in writing
On that recent visit, we talked through layouts and trade-offs in detail, but leaving written options behind would have served the homeowner better. That's the standard to hold any plumber to, including us.
A good proposal can offer more than one approach: keep the existing layout, improve how the room works, or add upgrades like new shutoff valves or an access panel for future service. Rough-in work changes a lot with the layout. Keeping fixtures where they are is one level of work, and moving a toilet across the room is another. Written options let you compare without pressure and prevent "I thought you said" conversations later.
What a bathroom plumbing rough-in includes
A rough-in is everything installed before the walls and floors close. Before your tile contractor arrives, check that:
- supply lines are run, stubbed out, capped and holding a pressure test
- drain and vent piping is complete and ready for its own test
- the shower or tub valve is set to the finished wall depth
- the tub or shower base is set, level and supported, if it goes in before tile
- blocking is in for anything wall-hung or for future grab bars
- nail plates protect pipes where they pass through studs
- the rough inspection has passed and been signed off
At rough, inspectors typically look at pipe sizing and pitch, vent connections, approved materials, support and strapping, and the shower valve. Anything that fails gets corrected while the wall is still open, which is the whole point of inspecting before finishes.
Planning your remodel with us
Jeneral Plumbing is owner-operated by a Licensed Master Plumber (MA #9628831-PL-M), based in Westford, MA, and works in homes across our Middlesex County service area, including Chelmsford. In most cases, the licensed master plumber who evaluates your home is the one who performs the work. Call (978) 392-7789 and tell us about the project. A regular-hours consultation visit carries an $80 dispatch fee — the cost of the visit, waived when you hire us for the work.
Two more questions
Can a pedestal sink hide existing plumbing?
Partly. The pedestal hides the trap and drain drop behind its column, but the supply and drain connections have to land inside the area it covers, so placement is set at rough-in. On the project above, pairing a pedestal sink with the toilet on one wall protected the framing and made the floor feel bigger.
How long does a bathroom rough-in take?
It depends on how much moves. Keeping fixtures in place takes far less rough work than relocating a toilet or adding a shower, and old piping that needs replacing or re-venting adds time. The inspection adds a scheduling step too. We give you a written timeline for your project so the tile contractor can book with confidence.
Written by Jeneral Plumbing.
This article was drafted with AI writing tools and edited before publication. AI tools did not inspect any job or validate technical conclusions.
Last updated .